The definition of 'Diorama' is 'a three dimensional model, usually of a landscape'
CLICK ON IMAGES FOR A CLOSER VIEW
For this card I used a fairy stamp, stamped using VersFine (Onyx Black) and coloured using marker pens.
It was made from just two sheets of UK A4.
My measurements are in millimetres but for those of you who prefer to work in feet and inches - there is an excellent tutorial written by Diana Gibbs on Splitcoaststampers.
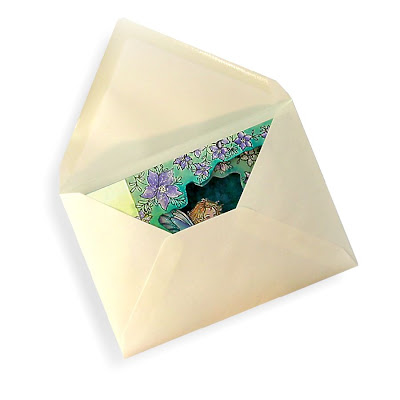
When folded flat this card will fit perfectly into a standard C6 envelope.
Here's How to make it:
You will need to cut two pieces of card measuring 190mm wide by 105mm high. These will form the back and the front of your card.
Full details are as follows:
A) Score line 40mm from edge
B) 110mm between score lines
C) 105mm high
D) 190mm wide
You will also need to cut one piece measuring 150mm wide by 105mm high. This will form the middle panel.
Full details are as follows:
B) 110mm between score lines
C) 105mm highE) Score line 20mm from edge
F) 150mm wide
The next stage is to decorate your three panels:
1) Back panel - I stamped the flowers and leaves in VersaFine then spritzed the whole panel with Cosmic Shimmer Mists purple violet and peacock green.
2) Middle panel - this aperture needs to be smaller than the front panel aperture
- Stamped round outer edges using the flowers and leaves.
- Fairy stamped to the centre left.
- Coloured using marker pens.
- Aperture cut roughly following the outer leaf and flower stamped images
- Stamped round outer edge using flowers and leaves
- Coloured using marker pens
- Aperture cut to roughly follow the leaf and flowers stamped images
The fairy wings were stamped again. coloured, cut out and decoupaged onto the middle panel fairy. Glitter highlights were added to the front (3) and middle (2) panels.
Gluing the card together
Run glue or double sided tape down either side of the middle panel (2) flaps and fix to the inside sides of the back panel (1).
Run glue or double sided tape down the reverse of both front panel (3) flaps and attach to the outsides of the back panel (1) side flaps.
That's it!
Thanks for stopping by!
Elaine x


.png)

%20(watermarked).jpg)


This is soooo georgous. You have done a great job coloring the scene.
ReplyDeleteAnd thanks for the great tutorial.
Beautiful card, and great tutorial. Thanks for sharing it.
ReplyDeleteThanks for sharing yet another beautiful piece of work. I will be visitng EJ's again once I've been paid ;0)
ReplyDeleteA stunning card and thanks so much for the tutorial, I'm definately going to have a go at this. You're such an inspiration!
ReplyDeletex Michelle
This is so lovely! wonderful deep colors and fantasy-woods feel to this great diorama card!
ReplyDeleteWow! I love it! Thanks for the tutorial. I must give it a try soon!
ReplyDeleteHi Elaine -
ReplyDeleteWhat a spectacular tutorial. I so love the colors you've chosen. I will be taking a stab at creating this once I convert millimetres to inches - LOL!
Elaine Allen
Hello!
ReplyDeleteI am so happy to find this blog as I follow the Magic Boxes! I will love now seeing all the new creations of both of you! :<)
This is a beautiful card!
Wishing you a great week!
Barbara Diane
This turned out gorgeous! Who wouldn't treasure this sitting on a shelf.
ReplyDeleteHugs,
Di
This card is so nice!!! Thanks for the tutorial!!
ReplyDeleteI start to Follow this blog!
From Spain
Demae.
I'm seriously in awe of your wonderful skills!! I've just spent an hour browsing through your many exciting posts. Thank you so much for providing instructions to help give me a chance to try some of these wonderful creations for myself. You've inspired me so much I'm delighted I stumbled across your blog today. x
ReplyDelete